Creating and editing groups
For admins
These instructions are for Catalyst admins. If you are a learner, see instructions for creating and editing groups in learner view.
The instructions below use the admin functions in Catalyst (rather than EPIC). See how to activate Catalyst admin functions.
There are two types of groups in Catalyst:
- Private — Just for you, to give you some insights on the team.
- Shared — For everyone in the group. As learners complete, they will be able to see the group and see those you have added to the group.
You can change this setting in the Groups section at any time.
As a Catalyst admin, you can create groups that you are not in.
Instructions
- Log in to Catalyst.
- Click Admin view (top right).
- Select the Organization you will be working in today.
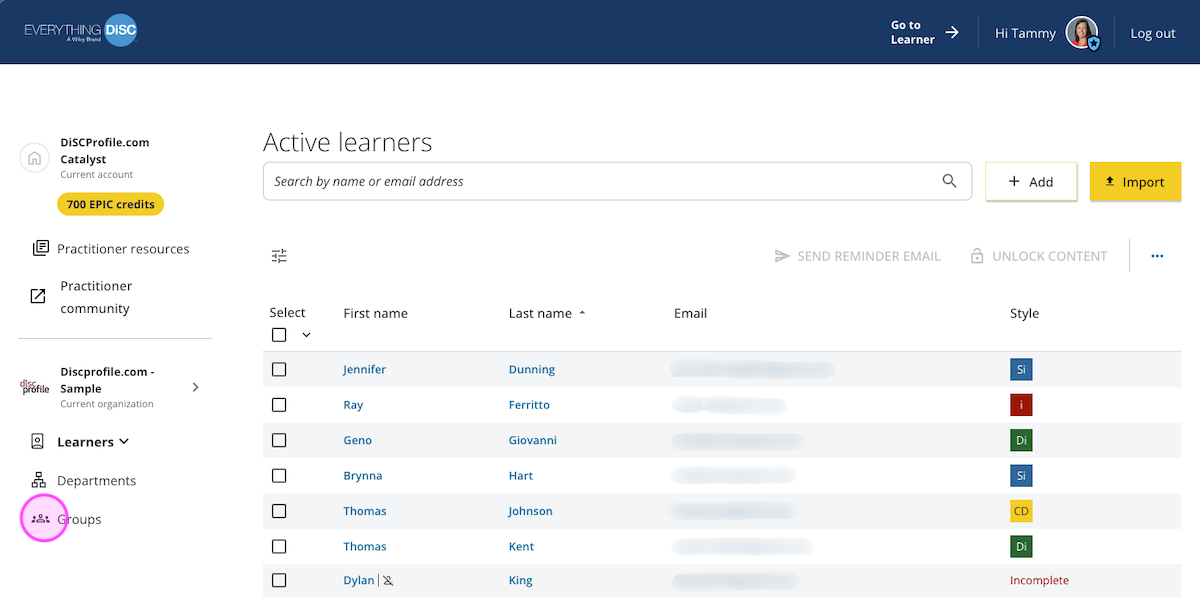
- This will take you to the Active learners page. Select Groups from the menu on the left.
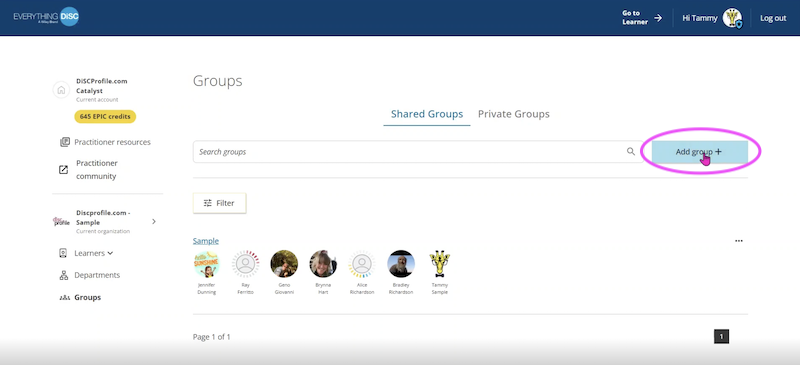
- To create a group, select the Add group + button at the top right.
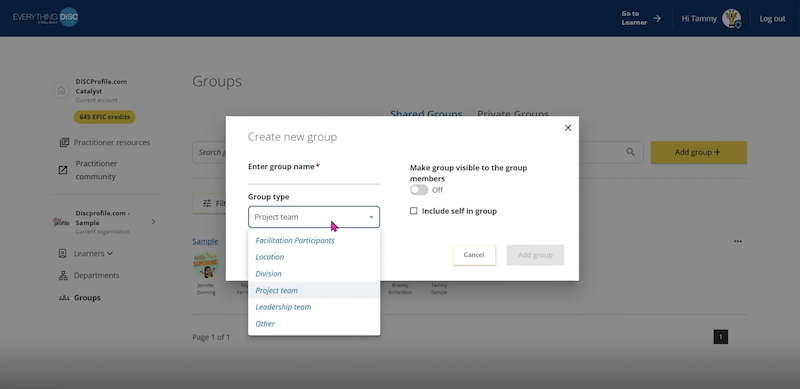
- Fill in the group name and select the type. Choose whether this group will be private or shared, and whether you should be in the group. Click Add group.
Editing groups
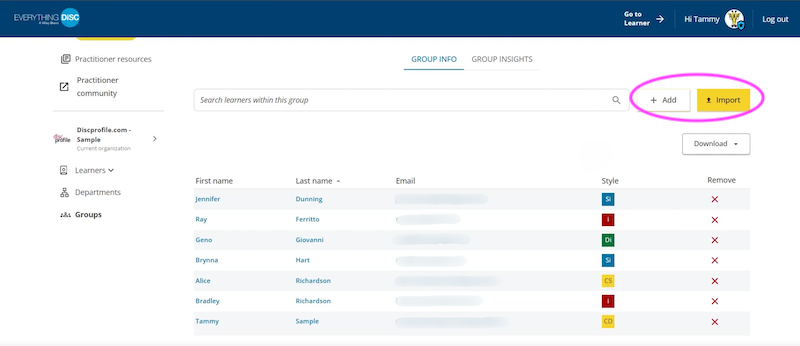
- To add members to a group, click the + Add or Import button on that group's page.
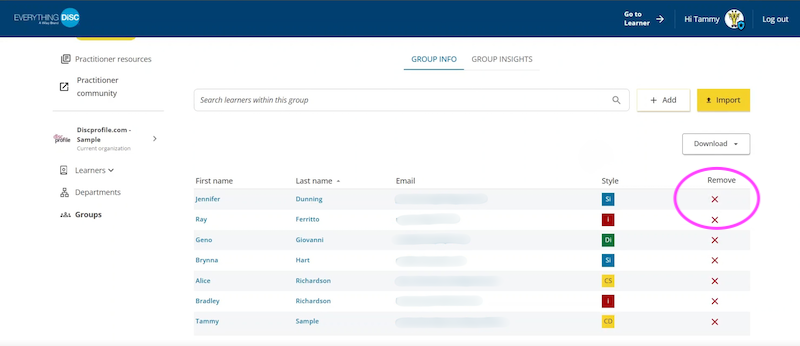
- To remove members from a group, click the red X in the Remove column next to their name.
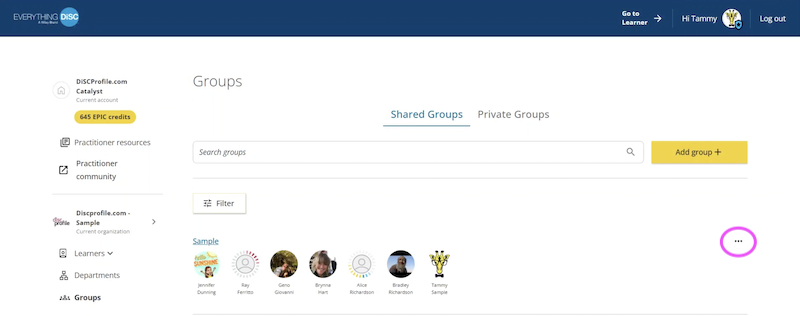
- To edit the settings of a group (name, private vs. shared, etc.), go to the main Groups page. Locate the group you want and click the … (three dots) menu at the right.