

Sending an assessment access code
You'll need the name(s) and email address(es) for your learner(s).
Sign in to EPIC and follow these steps.
View a video with these instructions.
Instructions
1. Go to Manage Reports | Create a New Report/Issue Access Codes
2. Select Product Family, Product, and Language.
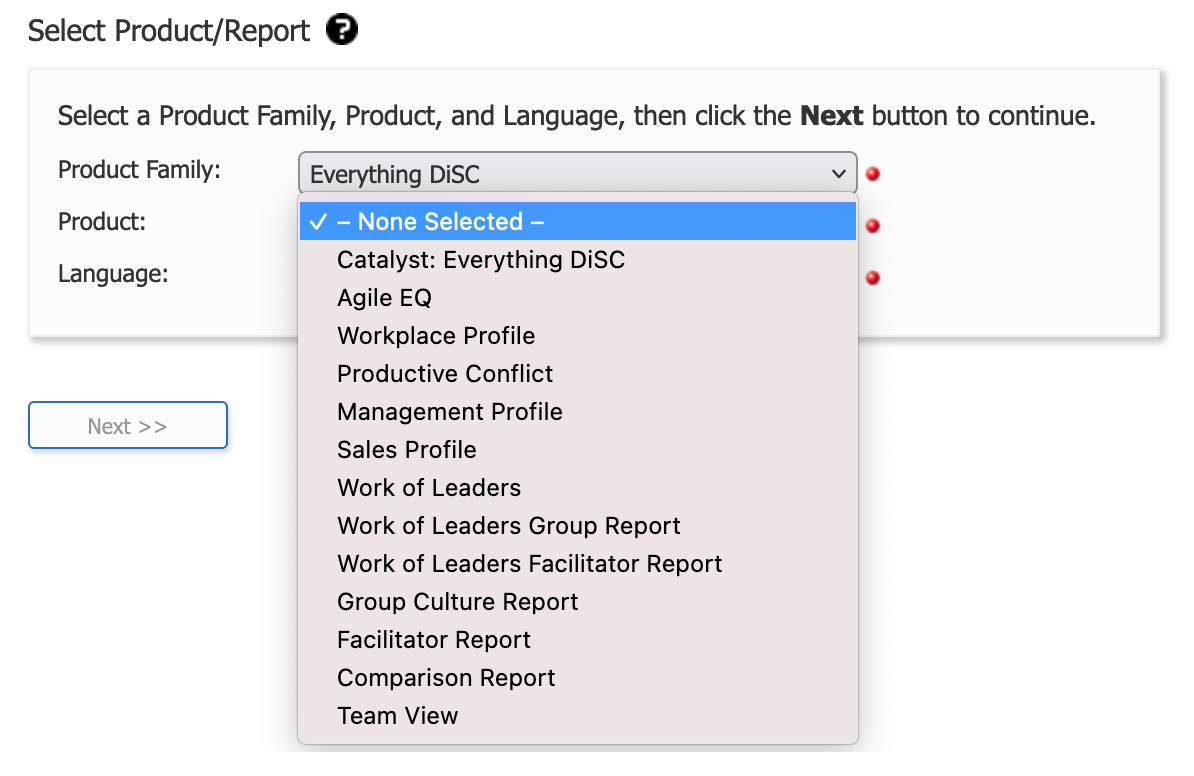
Click Next.
3. Choose a Report Content and MyEverythingDiSC options.
A few facilitators choose to produce reports with only the sections of the profile they will be addressing during training. Most select the default of all content. You can learn more about MyEverythingDiSC.
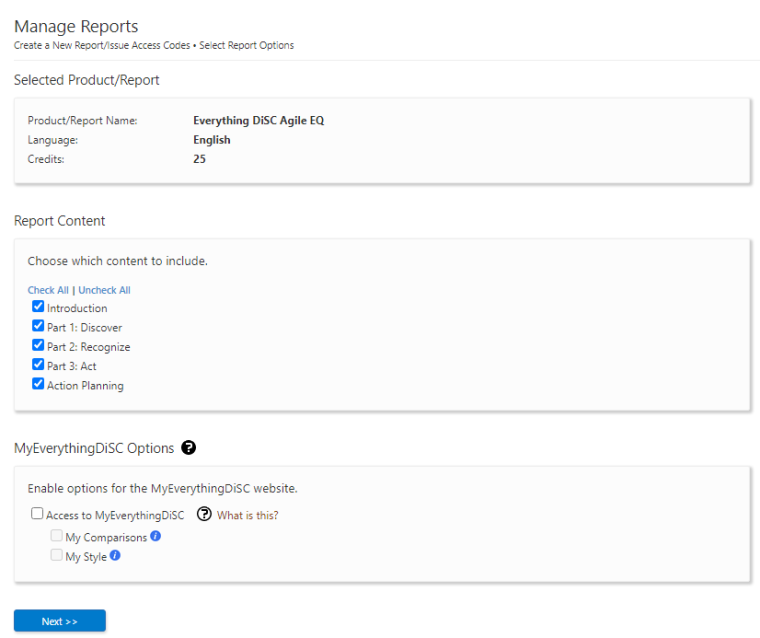
Click next and you'll see a page like this:
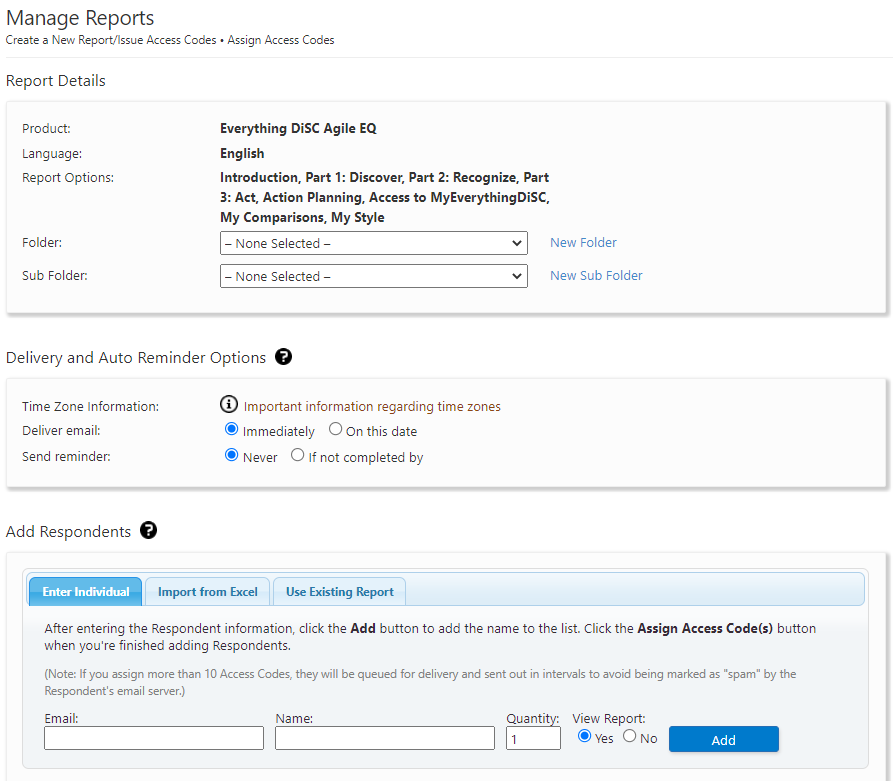
4. Choose a folder and/or sub folder in which to create new Access Codes or select the New Folder link to create a new folder.
5. From this page you will also need to set your Delivery and Auto Reminder Options. This determines when your learners (respondents) will receive an email with their personal Access Code. See also: Setting profile delivery options.
6. Add Individual Respondents
Enter an email address and a name for a Respondent, then press the Add button. You also have the option of importing learner names from Excel or using existing data to create new profiles. You can change the View Report option to No if you don't want learners to be able to immediately view their report after completing their assessment.
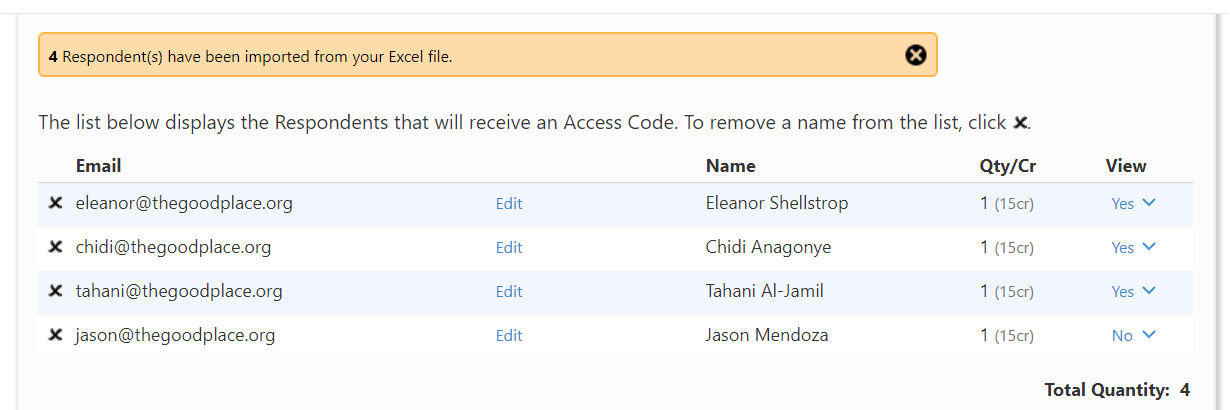
Made a mistake? Press the "X" at the beginning of a row to delete a Respondent from the list. Press the Edit link for a row to edit the email address, then click Save to save your changes.
EPIC displays the Total Quantity of access codes about to be created, and the Total Credits that will be charged during this transaction in EPIC.
7. Click Assign Access Codes.
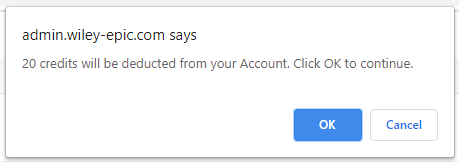
8. Confirm the credit deduction by pressing the OK button, or press Cancel to return to the page you were just on. EPIC credit charges vary by product.
Once you are done, EPIC displays a confirmation page.